A Comprehensive Guide for Wood Floor Finishing and Sanding: Tips to a Perfect Result
The sanding of hardwood floors and their finishing is an essential step in restoring their beauty and durability. This comprehensive, 3,000-word post offers valuable insights and tips on wood floor finishing and sanding. This article will provide you with all the information needed to create a beautiful and durable finish for your hardwood flooring.
I. Understanding Wood Floor Sanding
A. Sanding for what purpose?
Remove imperfections and old finishes. Sanding will remove the old finish and any imperfections such as scratches, dents or other imperfections. This will prepare the surface to be refinished and help achieve a smooth finish.
The floor is also leveled by sanding, which ensures that the boards are all the same height. This eliminates any high or low areas.
Sanding the wood grain open allows the new finish to penetrate the wood grain and adhere correctly.
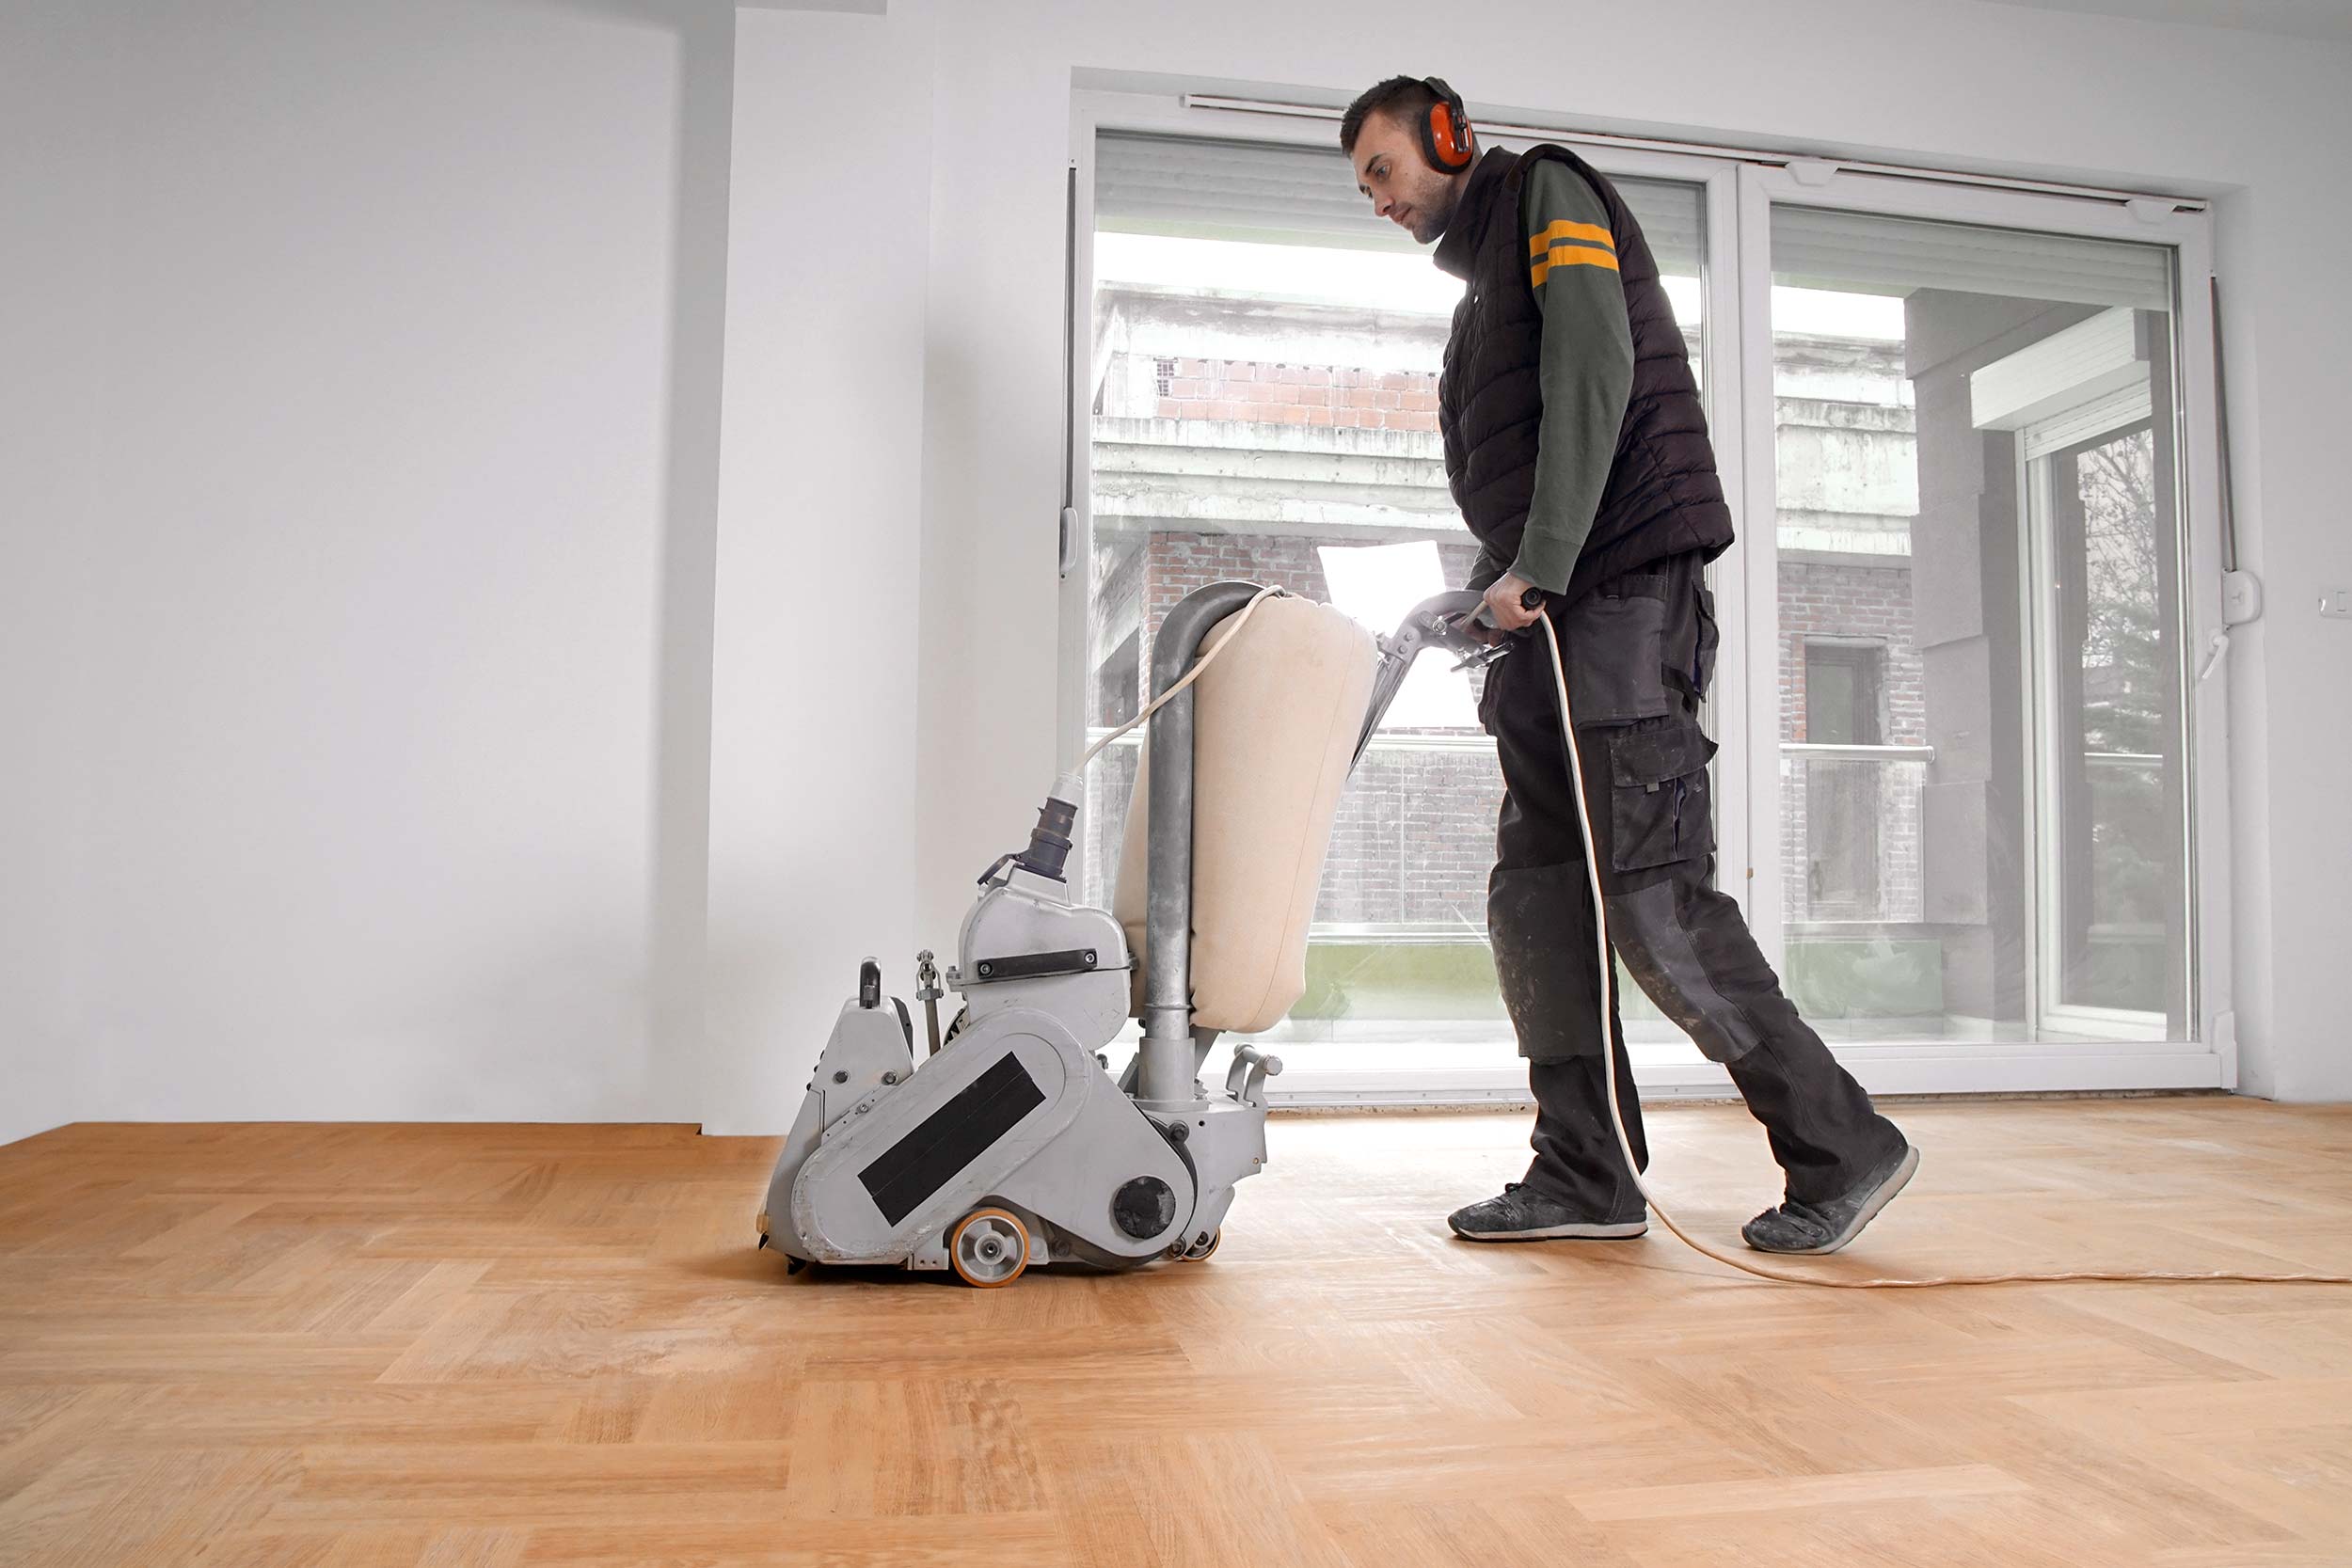
B. Sanding Equipment
Drum Sander A drum sander, which is heavy duty and powerful, can be used to sand large areas. The main part of the floor can be sanded with a continuous loop around the drum.
Edger: The edger is used to sand corners and edges of the room that the drum sander can’t reach.
Random Orbital Sander : A random orbital is a multipurpose tool that can be utilized for both the initial sanding as well as finishing passes. It is less aggressive than a sander drum and an excellent choice for DIYers.
C. Sanding Process
Select the Right Grit of Sandpaper Begin with coarse-grit paper (e.g. 36 or 40 grit), to remove the old finish from the floor and to level it. Continue to use finer grits, such as 60, 80 and 100 grit, to remove scratches and smooth out the surface.
Sand in the direction that the wood grain runs. This will help you avoid scratches on the cross grain, which can be very difficult to remove.
Keep the sander in motion. Do not let the sander sit in one place for too long. This can cause unevenness or gouges on the floor. The sander should be moving steadily.
Sand the Edges and Corners of the Room Use an edger, or a random-orbital sander and sandpaper with the correct grit to sand all the corners and edges of the room.
Vacuuming and tackcloth After each sanding, vacuum the flooring thoroughly to remove any dust or debris. Before moving to the next grit of sandpaper or applying the finishing, use a tackcloth to clean the floor.
II. Understanding Wood Floor Finishing
A. Different types of wood floor finishes
Polyurethane Polyurethane, a common finish for hardwood flooring, offers durability and protection from moisture and wear. Oil-based polyurethane is more durable than water-based.
Varnish Varnish enhances wood’s natural beauty and provides protection. The sheens range from matte to high-gloss.
Hardwax Oil Hardwax Oil is a mixture of natural oils, waxes and resins that penetrates wood to provide a durable finish. It also resists water. It is more maintenance intensive than polyurethane and varnish, but it offers a natural appearance.
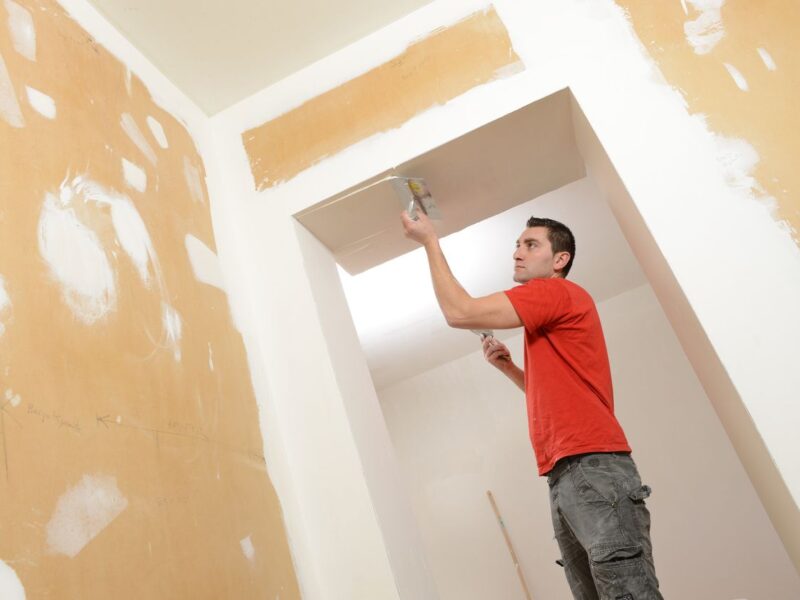
B. Application Tips
Surface preparation. Make sure the floor is free of debris, dust and residues from the sanding. Use a tackcloth to clean the surface after vacuuming.
Select the right finish. When choosing the finish for your hardwood flooring, consider factors like durability, sheen and maintenance requirements. You can consult a flooring specialist or do research to find the right option for you.
Test the Finish Before applying the finish to your entire floor, test it on a small area.
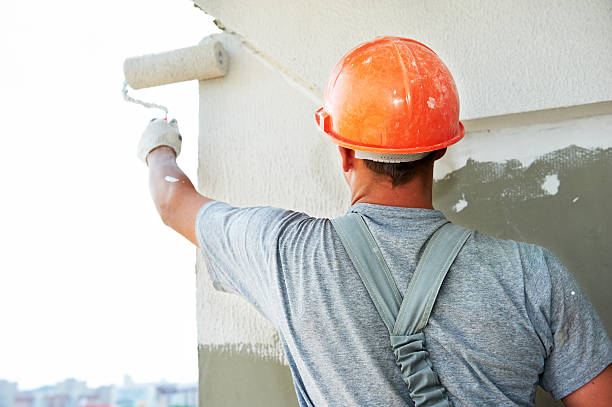
Apply the finish evenly. Follow the instructions of the manufacturer to evenly apply the finish. To avoid lap marks, work in small sections.
Let the finish dry according to the manufacturer’s recommended drying time. Allow the finish time to dry as recommended by the manufacturer before adding additional coats and walking on the flooring. A finish with a low-quality finish can be ruined by a lack of drying time.
Between coats, lightly sand the floor. Sand the floor lightly between coats to achieve a professional finish. This will remove any imperfections, and improve adhesion of the next coat.
Apply multiple coats. Apply two or three coats, allowing time for drying and sanding in between. This will provide a long-lasting and durable protective layer for hardwood floors.
III. Safety tips for wood floor sanding and finishing
A. Personal Protective Equipment
Eye Protection Use safety glasses or goggles to protect your eye from dust and debris when sanding.
Wear earplugs and earmuffs when using sanding machines. They can be very loud.
Respiratory protection Use a respirator or dust mask to prevent inhaling harmful fumes and wood dust.
B. Ventilation
Open windows and doors. Open windows and doors to ensure proper ventilation during the sanding or finishing process. This will disperse fumes and dust, and accelerate the drying of the finish.
Use exhaust fans. Use exhaust fans if available to remove fumes and dust from the workplace.
IV. Maintenance of your finished hardwood floors
A. Regular Cleaning
Vacuum or sweep regularly Sweep your hardwood floors or vacuum them to remove dust and dirt that could scratch the surface.
Use a wet mop. Use a damp mop to clean your floors. You can also use a hardwood floor cleaner that is designed specifically for your finish. Use less water as it can damage wood.
B. Preventative measures
Use furniture pads. Use felt pads to protect your hardwood floors against scratches and dents.
Use area rugs or mats. Area rugs and mats should be placed in areas with high traffic and near entrances to protect floors from dirt.
Trim pet nails Trim your pet’s nails to prevent scratches on your hardwood flooring.
C. Refinishing schedule
Assess wear and damages. Refinish your hardwood floor when you notice signs of wear or damage.
Hire a pro or DIY? Based on your skill and experience level, decide if you are comfortable refinishing the floors yourself.
These are some useful links:
- Floor Sanding Services
- Wood Floor Polishing
- Wood Floor Renovations
The conclusion of the article is:
The sanding of hardwood floors and their finishing is a crucial step in maintaining and restoring the beauty. You can get a long-lasting and stunning result by understanding the process and selecting the best equipment and finishes. If you are a DIYer or prefer to hire professionals to do the job, learning about wood floor sanding, finishing, and maintenance will help ensure that hardwood floors add value, beauty, and warmth to your home. Regular maintenance will help to preserve your floor’s life and appearance, so you can enjoy its timeless elegance and charm.
For more info about – floor sanding in South Auckland.